Painting a room yourself is one of the most affordable ways to transform a space. With the right prep and technique, you can get results close to professional standard. This guide covers the tools and steps you need.
What you'll need
Gather your supplies before you start: painter's tape, drop cloths or old newspapers, sandpaper (120 to 150 grit), a putty knife and filler for cracks or holes, a paint tray, rollers (medium-nap for walls, foam for trim), angled brushes for edges and corners, a stir stick, paint, and primer. Use our paint calculator to estimate quantities based on your room's dimensions and avoid over- or under-buying.
Step 1: Prep the room
Move furniture to the centre of the room or out entirely, and cover floors and remaining furniture with drop cloths. Remove switch plates and outlet covers. This step is often rushed, but it separates an amateur finish from a professional one.
Step 2: Clean and repair the walls
Wipe down walls to remove dust, cobwebs, and grease. Paint doesn't adhere well to a dirty surface. Fill cracks or nail holes with filler, let it dry, then sand smooth. If your walls have glossy old paint, a light sanding helps the new coat grip.
Step 3: Tape and protect edges
Use painter's tape along skirting boards, window frames, and ceiling lines for clean edges. Press the tape down firmly to stop paint from bleeding underneath.
Step 4: Prime if needed
Primer is essential when painting over a dark colour, bare plaster, patched areas, or a stain. It ensures even colour coverage and better adhesion. Skipping primer on these surfaces is a common cause of needing extra topcoats to get solid coverage.
Step 5: Cut in, then roll
Cutting in means painting a neat 5 to 7cm border around edges, corners, and trim with a brush before rolling the main wall area. Work in small sections, apply paint in a W or M pattern with the roller to spread it evenly, then fill in without lifting the roller too often, which can leave visible lines.
Step 6: Apply a second coat
Most walls need two coats for full, even colour, especially with reds, dark blues, and other saturated shades. Let the first coat dry fully, per the product's recommended drying time, before recoating.
Common DIY mistakes to avoid
Painting over dirty or glossy surfaces without cleaning or sanding first. Skipping primer on patched or dark walls. Using low-quality rollers, which shed fibres and leave a patchy texture. Not stirring paint thoroughly, leading to inconsistent colour and sheen. Removing tape too late. Once paint is fully dry it can peel the finish with it, so pull tape while the paint is still slightly tacky. When to call in the professionals
DIY suits a single room or accent wall. Larger jobs, high ceilings, exterior work, or textured finishes need the equipment and experience of professionals for a flawless, lasting result. If your project has grown beyond a weekend job, browse our painting services or request a quote.
Choosing the right paint for your DIY project
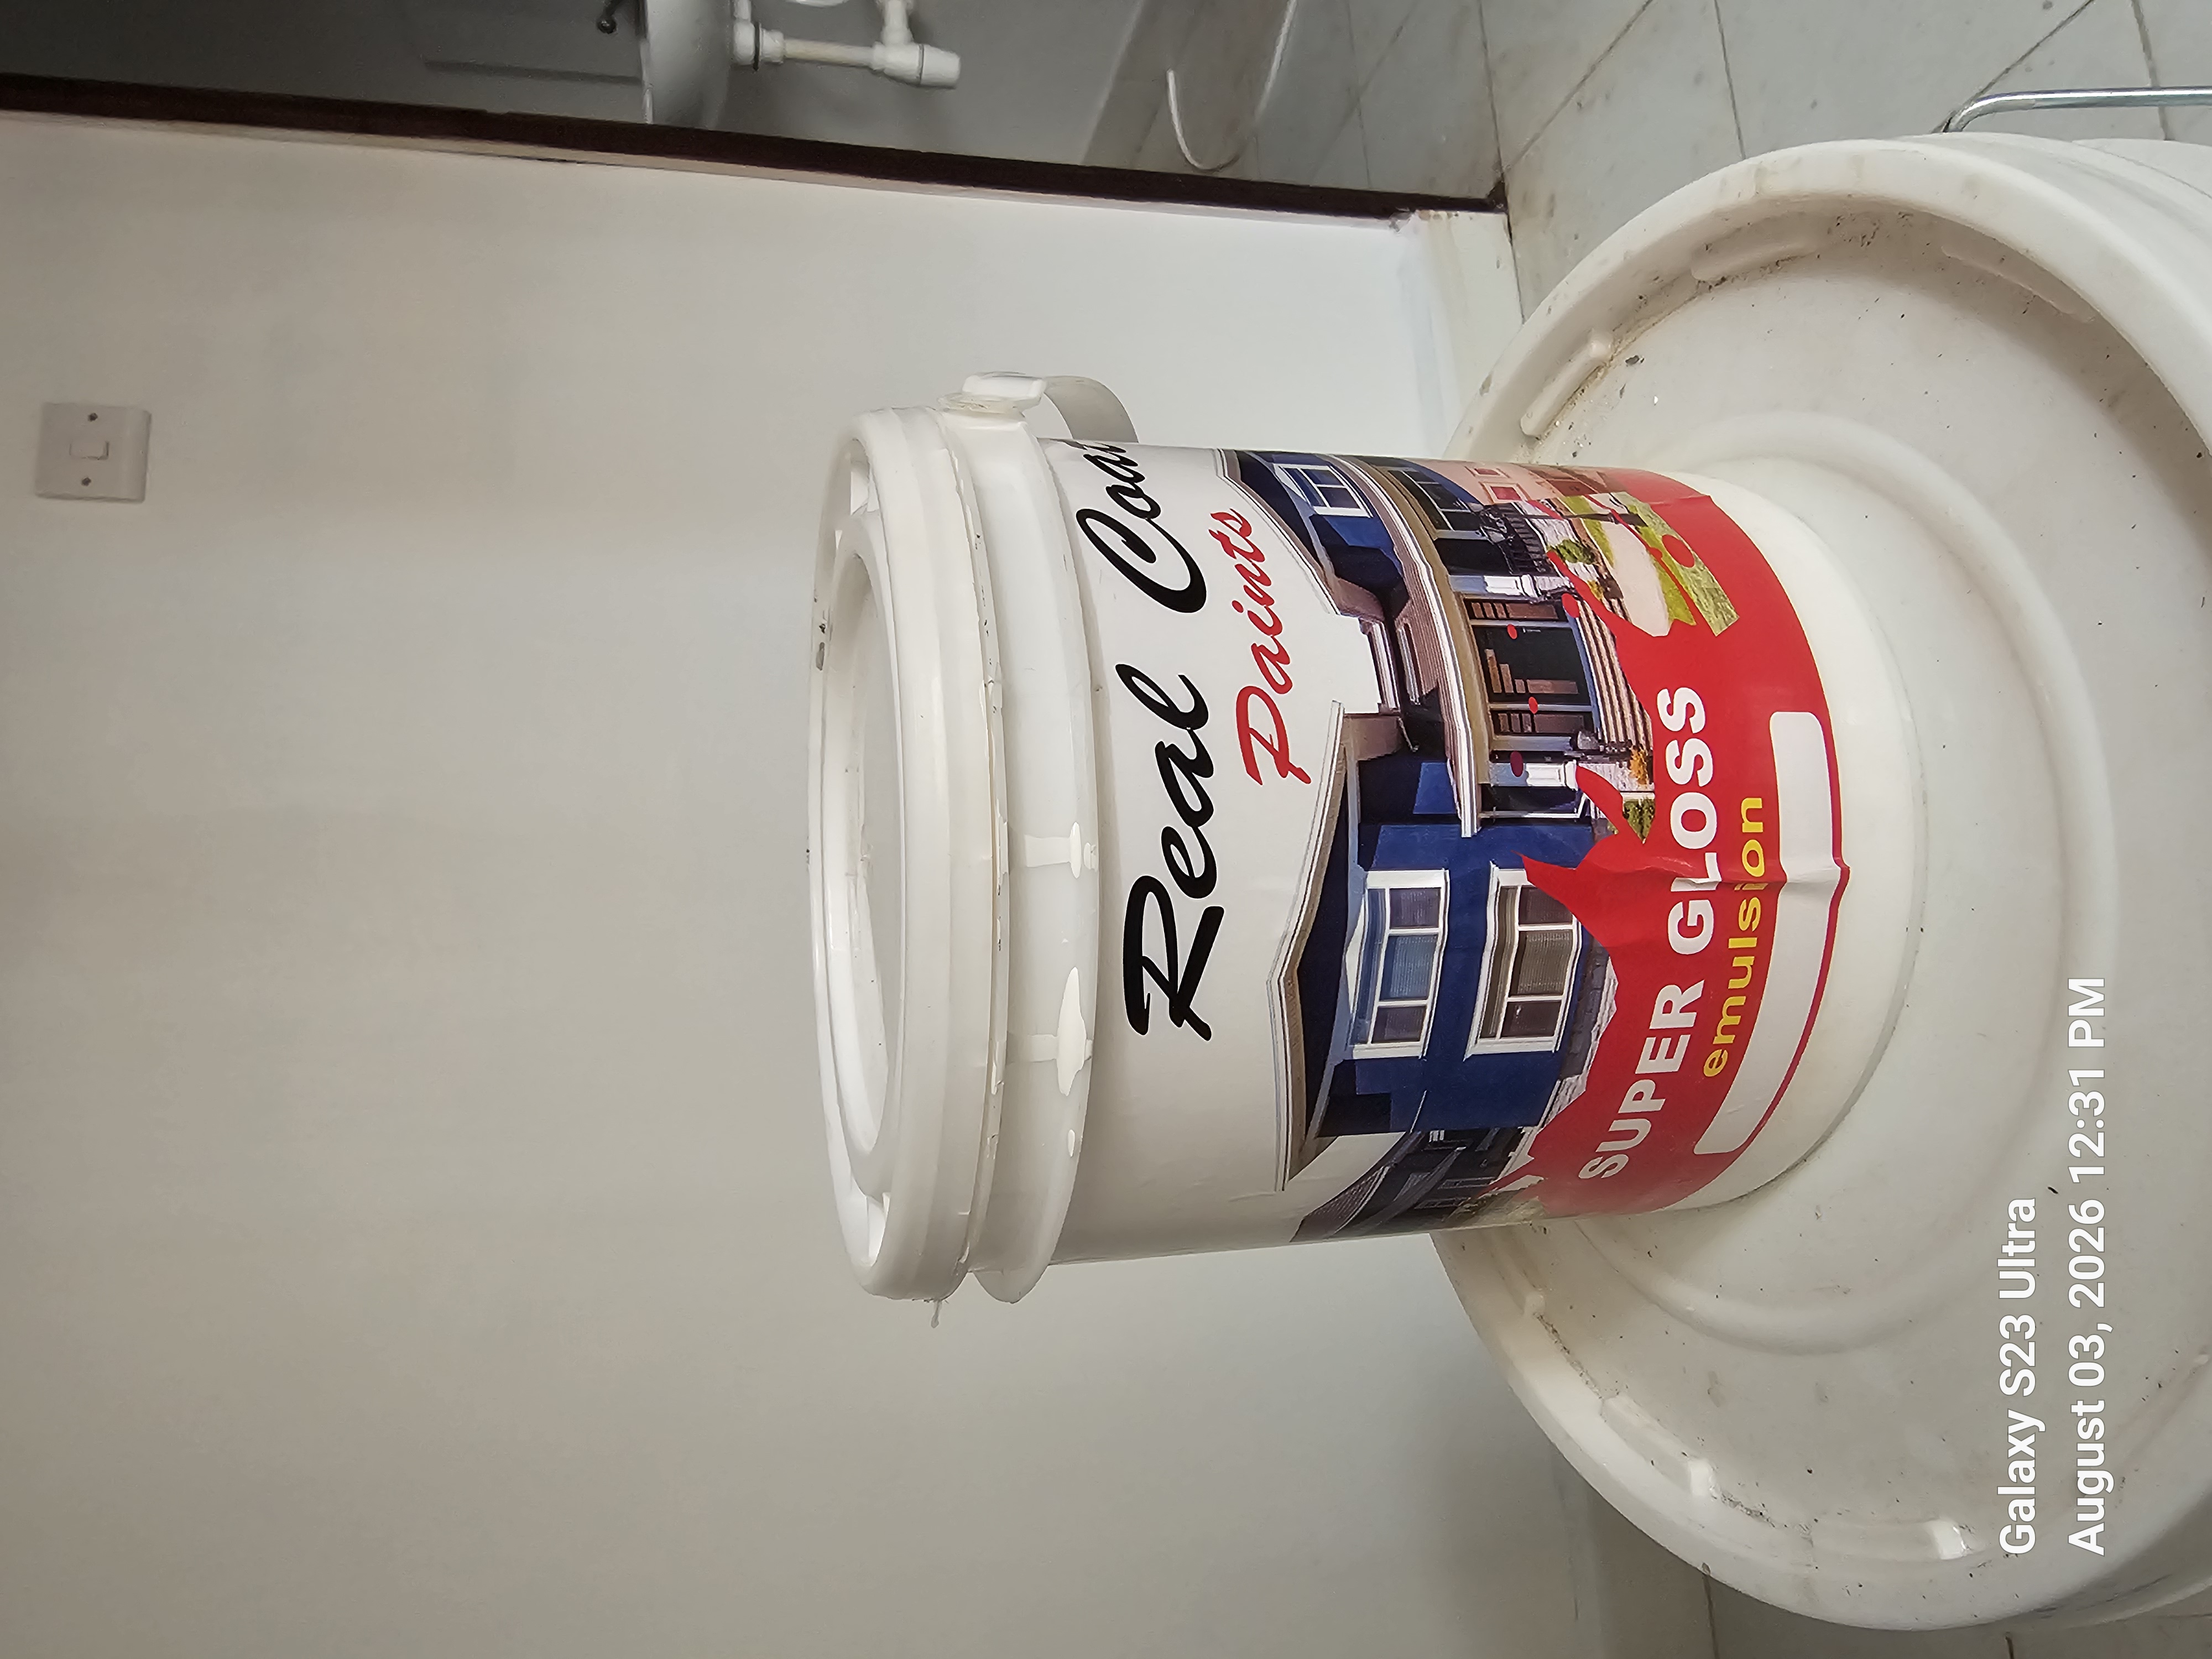
The paint you choose matters as much as your technique. Real Coat Paints' product range includes options for every room and surface, and our colour range makes it easy to find inspiration before you start. For guidance on ventilation and paint fumes, the U.S. EPA has useful information on indoor air quality and volatile organic compounds, worth reviewing for indoor painting projects.
Final thoughts
A good DIY paint job comes down to patience with prep, the right tools, and quality paint. Spend time on the steps that feel tedious, cleaning, sanding, taping, and the painting itself will go faster and look better. Find your nearest Real Coat Paints store for supplies and advice.
Suggested Images
A person rolling paint onto a wall with a roller. Anchors the how-to theme. Alt text: "DIY wall painting technique step by step." Close-up of painter's tape being applied to a skirting board or window frame. Supports the prep and taping step. Alt text: "Painter's tape edges DIY painting." Flat lay of DIY painting tools (brushes, rollers, tray, tape, filler knife). Supports the tools list. Alt text: "DIY painting tools and supplies checklist."
Source from your own gallery or licensed how-to stock photography for accuracy.
Keep reading on realcoatpaints.com
Handy links to help you go from inspiration to a finished wall.
More photos